Blog
Personalized Photo Cards: Where and How to Print Them
Prepare personalised photo cards by separating the fixed design from variable names, photographs and messages, then approve each finished card before printing.
TCGPrintery4 min read
You can print personalised photo cards, with a name, a date and your own picture, at TCGPrintery from a single card. They work best when the design makes room for variation before the first name or image is added. A short name, a long message and a busy photograph can place very different demands on the same template. To decide where and how to print them, prepare a small set of examples that shows what stays fixed and what needs individual approval.
Separate the design from the personal details
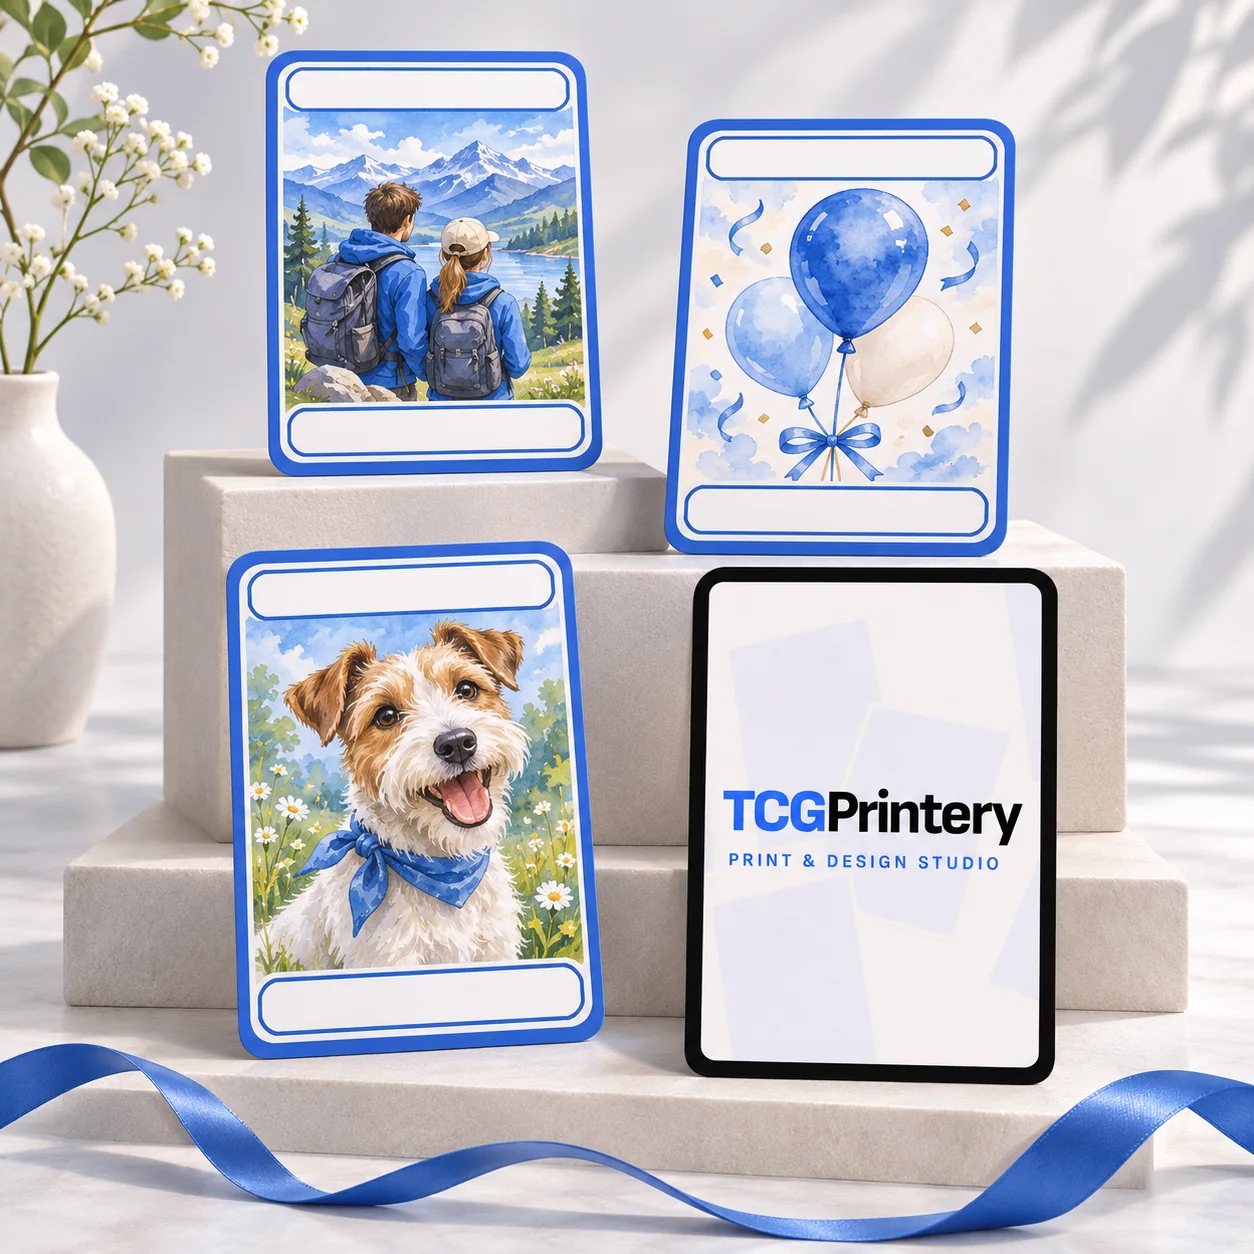
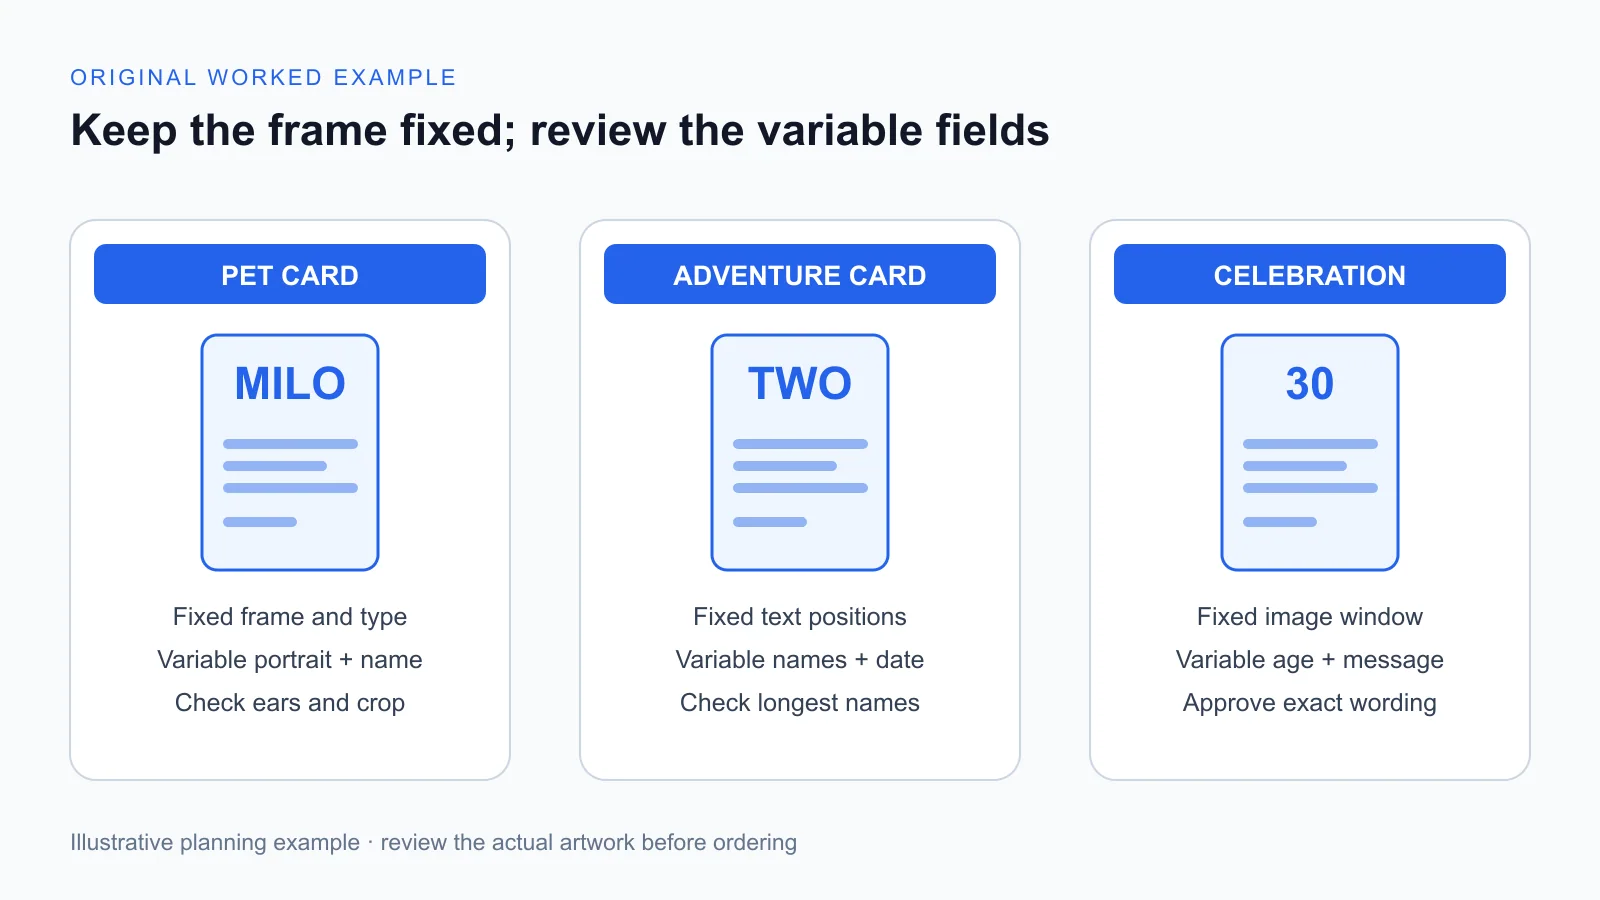
Start with a fixed frame, title position, image window and message area. Then identify the variable fields: a name, a date, an illustration or a short sentence. Our three fictional examples are a terrier card for Milo, a hiking keepsake for two friends and a thirtieth-birthday card. They share a visual system without pretending to be the same product. Write down which fields can change in each version. This prevents a small personalisation request from unexpectedly turning into a complete redesign with different spacing, typography and artwork requirements.
Choose photos that fit the crop
An image can have plenty of pixels and still be unsuitable for the intended composition. For Milo's card, the ears need room above the head and the portrait should not disappear against a busy background. For the hiking example, both people need to remain visible inside the same window. Request or choose source images that support the crop rather than relying on enlargement to recover missing detail. Use only images you have permission to reproduce. Keep an untouched source copy so a new crop can be made without repeatedly editing a compressed export.
Test realistic text limits
Put the longest expected name into the template before deciding the normal type size. Test a date in the intended written format and a complete sample message, including punctuation. A limit expressed only as a character count can still be misleading because different letters occupy different widths. For the birthday example, compare a short greeting with a longer sentence and decide where wrapping is acceptable. Keep the frame fixed while revising the wording. If each order needs a unique type size to fit, the template needs more room or a clearer text limit.
Approve the finished card, not just the inputs
Correct source details do not guarantee a correct final design. Review the actual composed card with the chosen image, name, date and message together. Ask the recipient or customer to confirm spelling and the exact intended wording where appropriate. Make the approved revision identifiable, for example MILO-v02. If a later edit changes the crop or line breaks, show the updated result again. This is especially useful when two names share a title line or when a message includes an unusual spelling that an automatic correction might alter.
Prepare each approved version for print
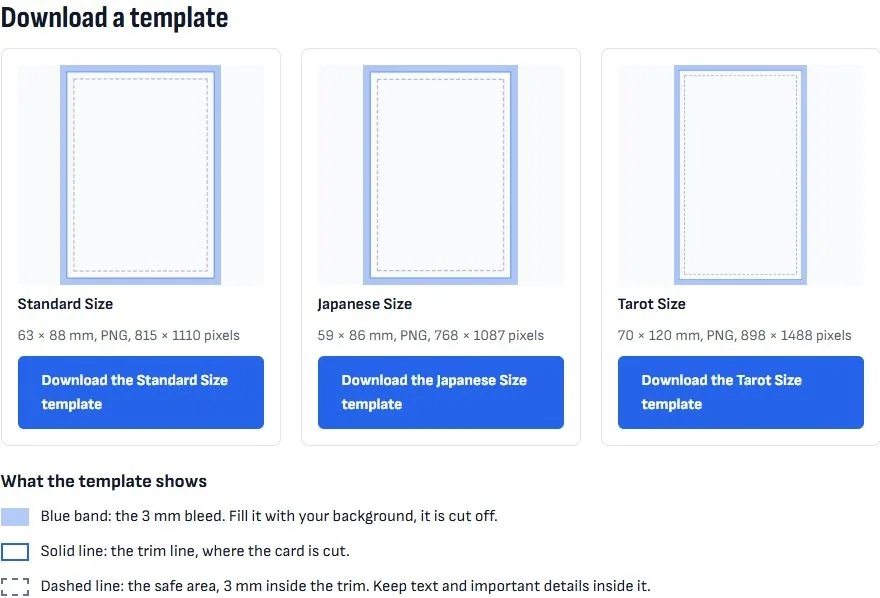
Choose a concrete format from the current options and prepare the files according to the print-ready guidance. A smaller format such as Japanese size suits a pocket keepsake. Keep personal details inside the safe area and inspect the background at every edge. Record the back assignment and quantity for each finished face. Three examples printed twice each require six cards, not three. Check the order against your approval list rather than relying on thumbnails alone. Similar names or nearly identical images can make accidental duplicates difficult to notice in a crowded upload view.
Use a sample to improve the template
Review a physical example for skin or fur detail, small lettering and the balance between the picture and the message. Include the longest name and the most demanding crop in that first review, not only the easiest design. Keep lessons in the master template so future personalisations benefit from the same correction. When the layouts and permissions are ready, prepare your personalised cards. A clear template and a visible approval step let each card feel individual while keeping the printing process consistent and understandable.