Blog
How to Print Your Own Custom Playing Cards
Prepare your own playing-card deck from file list to upload. Follow an original 54-card example, set the bleed and check the shared back.
TCGPrintery4 min read
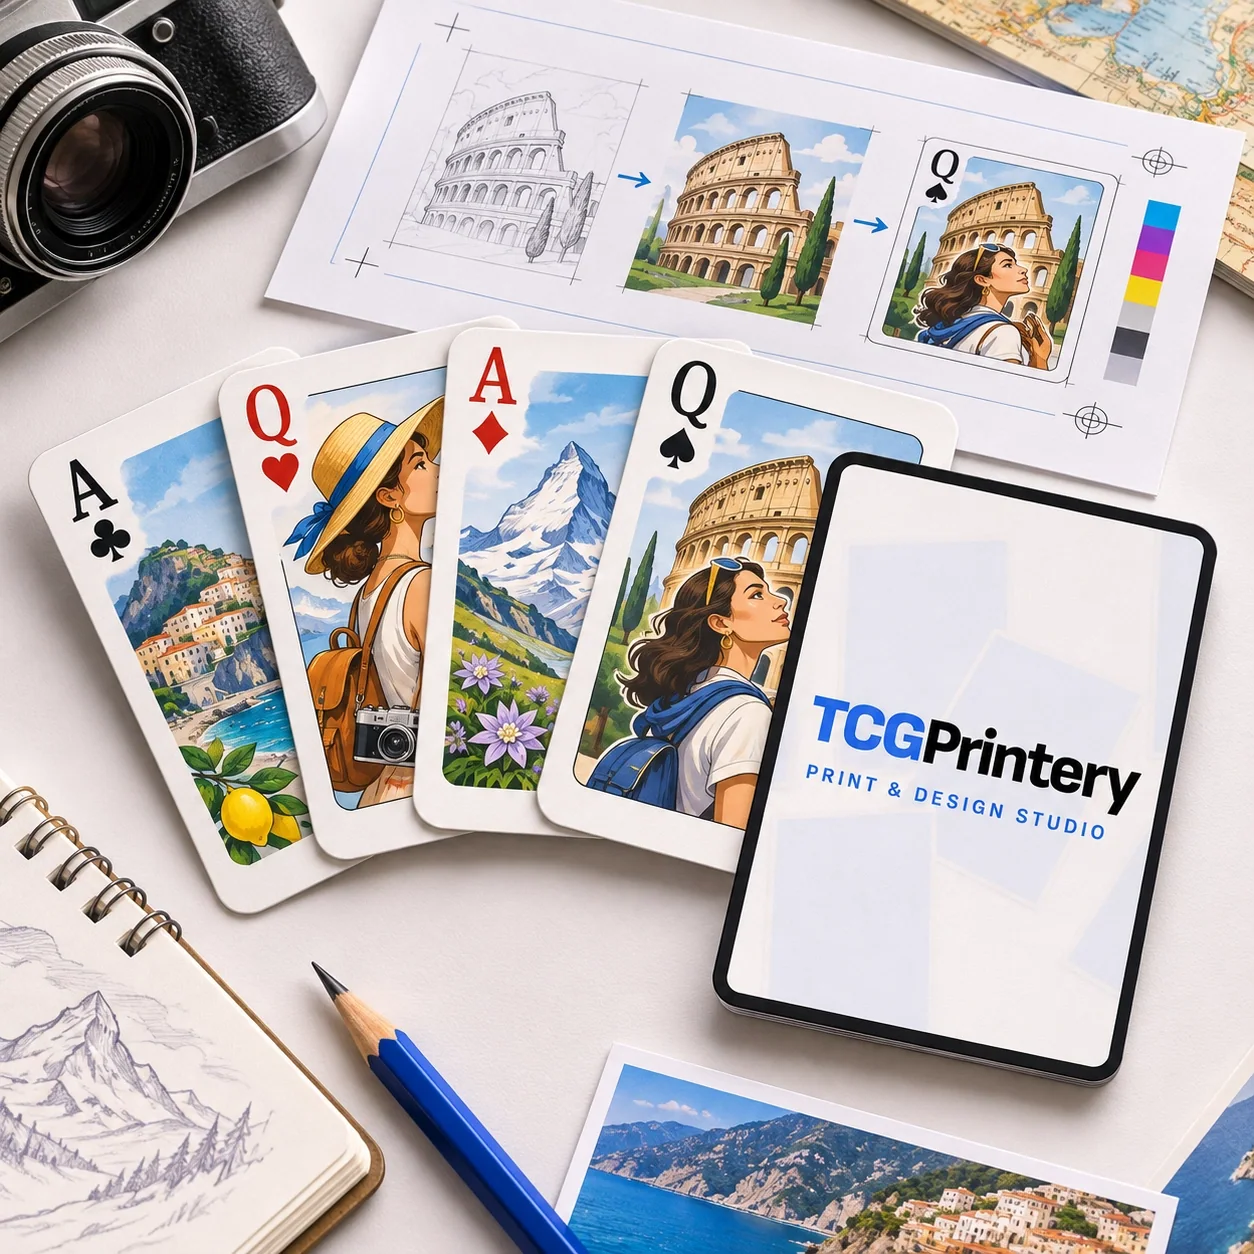
To print your own playing cards, prepare one file for every face, decide how the backs will be assigned and check the complete deck before ordering. A clear file set makes it much easier to find a missing rank or an extra copy while you can still fix it.
Follow one example throughout this guide: Harbor Notes, an original illustrated deck with four suits, two jokers and one shared back. The deck has a coastal theme, with a lighthouse on its ace of spades. The same steps work for a photo deck, a gift or a game you designed.
1. Write the deck list before exporting
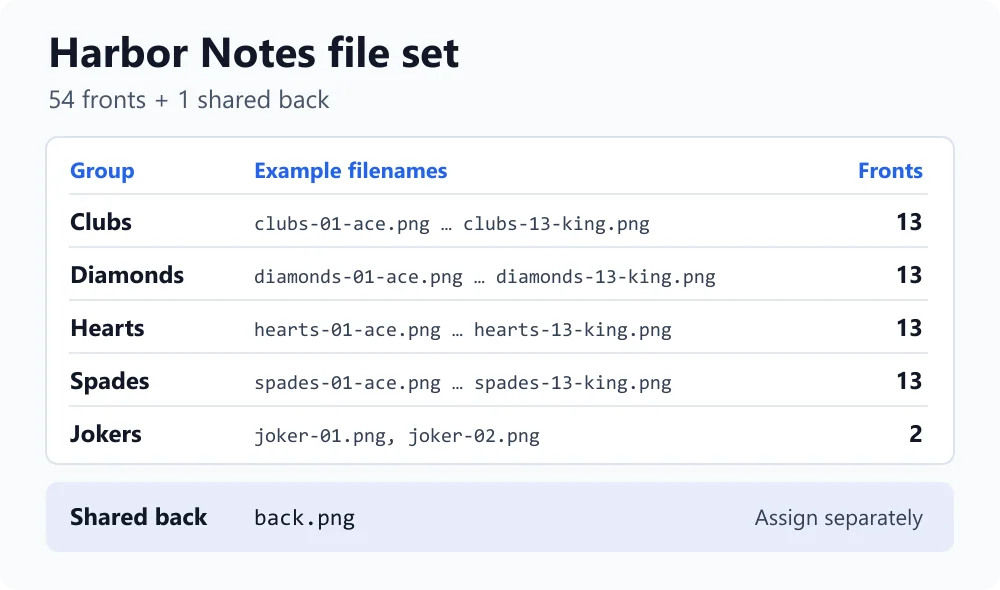
Harbor Notes has 13 faces in each of four suits, plus two jokers. That makes 54 card fronts. The shared back is a separate file, so the folder contains 55 pieces of artwork for 54 physical cards. Count any extra rule or reference cards as fronts if they belong in your own deck.
Give each front a unique name. Use a pattern such as spades-01-ace.png through spades-13-king.png, then repeat it for the other suits. Keep back.png separate from the face files. A folder or version label such as harbor-notes-v01 helps you identify the exports you actually reviewed.
2. Build the layout for the finished size
This deck uses TCGPrintery's Standard format at 63 × 88 mm. Use the actual finished measurement when setting up your document. At 300 dpi, the finished-size image is 744 × 1039 pixels.
If you build the bleed into the artwork, extend the background 3 mm past each edge. That makes the file 69 × 94 mm, or 815 × 1110 pixels at 300 dpi. The trim line marks the intended cut. Keep the ranks, suit symbols and other important details inside the safe area marked on the Standard template.
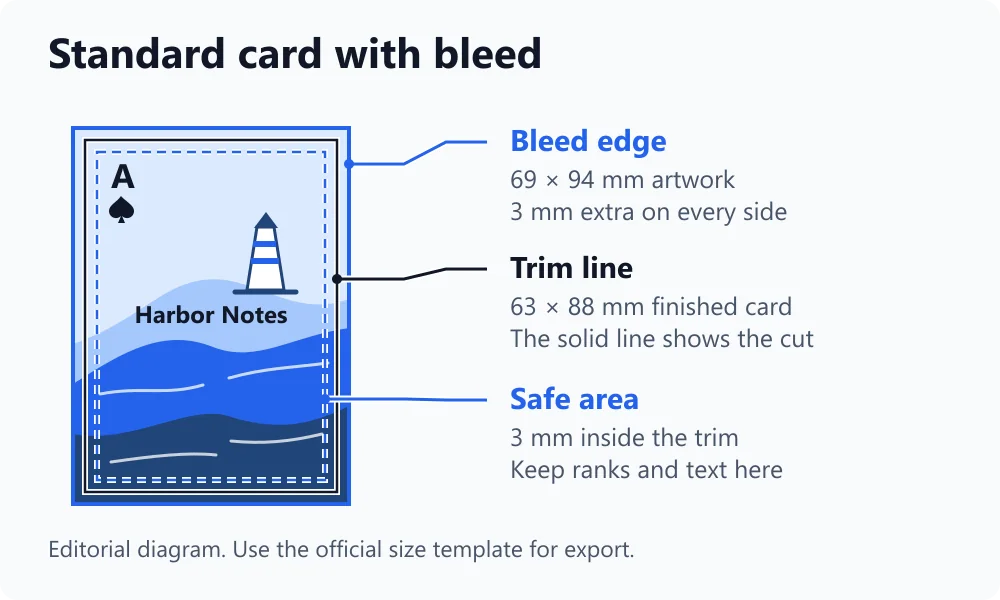
Use one master layout so the corner indices stay in the same place on each face. Check the longest rank label and smallest suit symbol at the size they will actually print. Hide the template guides when exporting. The print-ready files guide explains bleed, resolution and colour preparation in more detail.
Open a few of the exported files before uploading the batch. Compare a dark face, a light face and a court card with the design document. Check that the backgrounds reach the file edges and that no guide lines were exported. Spotting a wrong export setting here can save you from having to replace all 54 files after import.
3. Upload the fronts and set the shared back
In the Standard designer, upload the 54 fronts as JPG, PNG, WebP or PDF artwork. If you export a PDF, check its page count and the order of the faces before uploading. Keep the back file out of that batch, then assign it as the shared back for the deck.
The designer can add 3 mm of bleed to artwork uploaded at the finished size. It also accepts files that already include the correct bleed. Review the crop and bleed on each design. The lighthouse illustration can reach the edge, while the ace index stays comfortably inside it.
4. Compare the designer with your deck list
Check for one copy of each intended face and a total of 54 cards for Harbor Notes. Inspect the two jokers, the four aces and the court cards deliberately, since a missed export can hide among similar faces. Turn the previews over to check the shared back and its orientation.
Choose the stock and finish you want to assess. The materials page shows samples to compare. If you are still deciding, make a separate small sample with representative details, such as the lighthouse, a busy court face and the shared back. Review the card count, configuration and total before ordering.