Blog
How to Check Your First Printed Playing Card Sample
Review a printed playing card before ordering the deck. Check legibility, cut, back orientation and finish, then record what to keep or change.
TCGPrintery4 min read
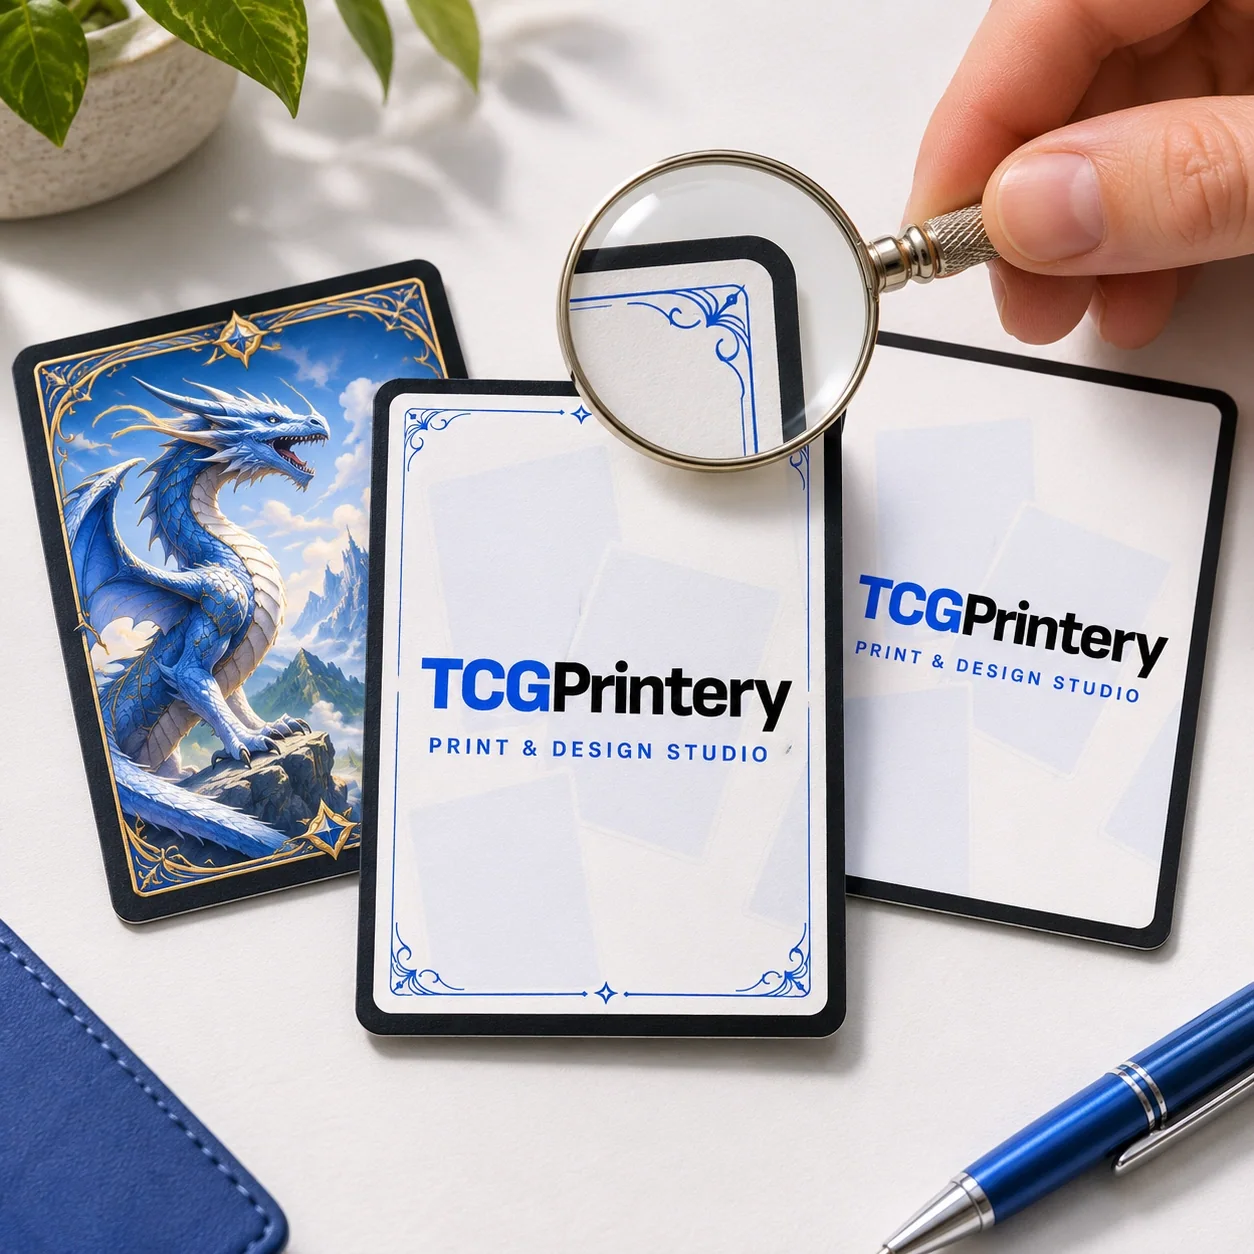
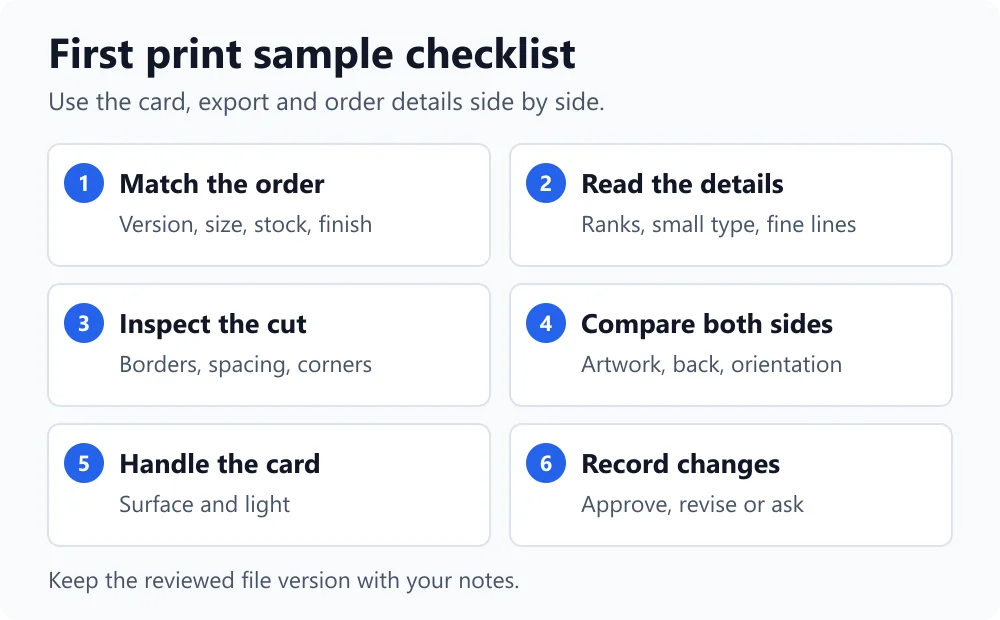
When your first printed playing card sample arrives, place it beside the artwork you actually ordered. Keep the order summary nearby too. The sample shows what came out of production; the artwork and order details tell you which version, format and finish you intended to receive.
Imagine reviewing an ace from Harbor Notes, an original playing-card deck with fine lighthouse artwork, small corner indices and a shared back. Start with these specific features, then decide whether the sample is ready for the full deck or needs another pass.
Match the sample to the order
Confirm which design and file version you sent, then check the format, quantity, stock and finish on the order summary. If the sample was ordered in TCGPrintery's Standard format, the intended finished size is 63 × 88 mm. Use your own order's format as the reference.
Save a photo alongside the matching export if you are comparing multiple versions. A filename or note such as harbor-notes-v01 helps you trace a change back to the right sample.
Read the important details at playing distance
Hold the card as you would during a game. Read the rank and suit at a glance. Look at small text and fine lines under ordinary room light, then bring the card closer to see where detail becomes difficult to read. Check a dark area as well as a light one.
On the Harbor Notes ace, inspect the corner index and the thin lines around the lighthouse. If a detail is hard to see, try a larger symbol, stronger contrast or less fine detail in that part of the artwork. Compare the revised file at actual card size before ordering again.
Look at the cut and spacing
Check the edges and corners against the intended composition. Do important elements have enough breathing room? If a thin frame looks uneven or a rank sits too close to a corner, review its position in the original layout. The print-ready files guide explains the relationship between the cut line, safe area and bleed.
Write down the side and the detail you noticed, such as “move the lower right index inward”. That is easier to act on than a note saying the border looks wrong.
Turn the card over and handle it
Check the actual back of your own sample. Turn it the way you expect players to turn a card and confirm that the back faces the intended direction. If every card should look the same face down, compare multiple backs before approving the deck.
Feel the surface and look at the colour under the light where you will use the deck. If you are comparing foil, tilt the card and see which parts catch the light. If you have several samples, handle them together to get a better sense of how they feel as a set.
Choose a few colours to compare, such as the blue water, the white lighthouse and the dark shoreline. Put two samples under the same light if you are choosing between versions. Write down what matters to the design: for example, whether the lighthouse still stands apart from the sky. This gives you a concrete basis for the next change.
Make one clear decision before reordering
Record the accepted file version and options if the sample is ready. If something needs work, write a specific change and keep the previous sample for comparison. Test another representative card if a later design uses smaller text, darker artwork or a different finish.
If the print appears different from the order or the approved artwork, keep the original files and photograph the relevant area. Contact TCGPrintery with the order reference and a short description so the discrepancy can be reviewed before you order more.