Blog
How to Print High-Quality TCG Cards
Improve TCG print files by checking source detail, small text, safe edges and material using an original owl-and-map card example.
TCGPrintery4 min read
High-quality TCG printing starts with the file you supply and the decisions you make at card size. Sharp source artwork, readable type, safe spacing and a suitable material work together. A larger export cannot recover detail that was missing from the original image.
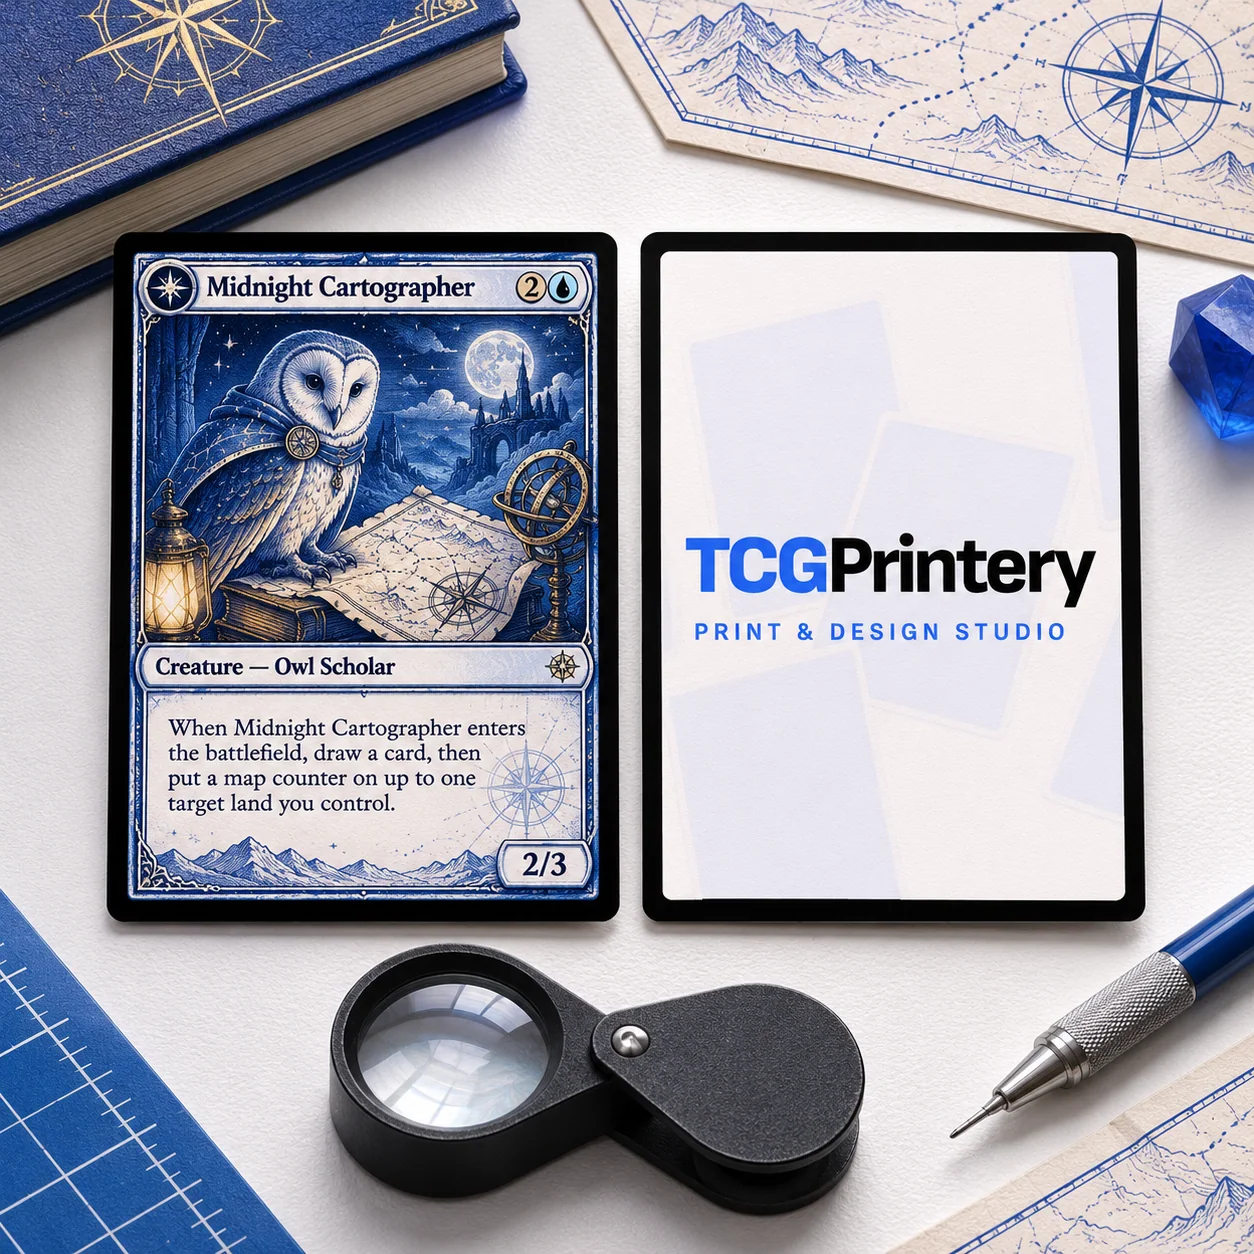
Use Midnight Cartographer, an original owl-and-map card, as a practical example. Its fine map lines, dark illustration and short rule create three different things to inspect. The aim is to prepare a dependable print file before ordering, then compare the physical result with that approved version.
Check resolution at the finished dimensions
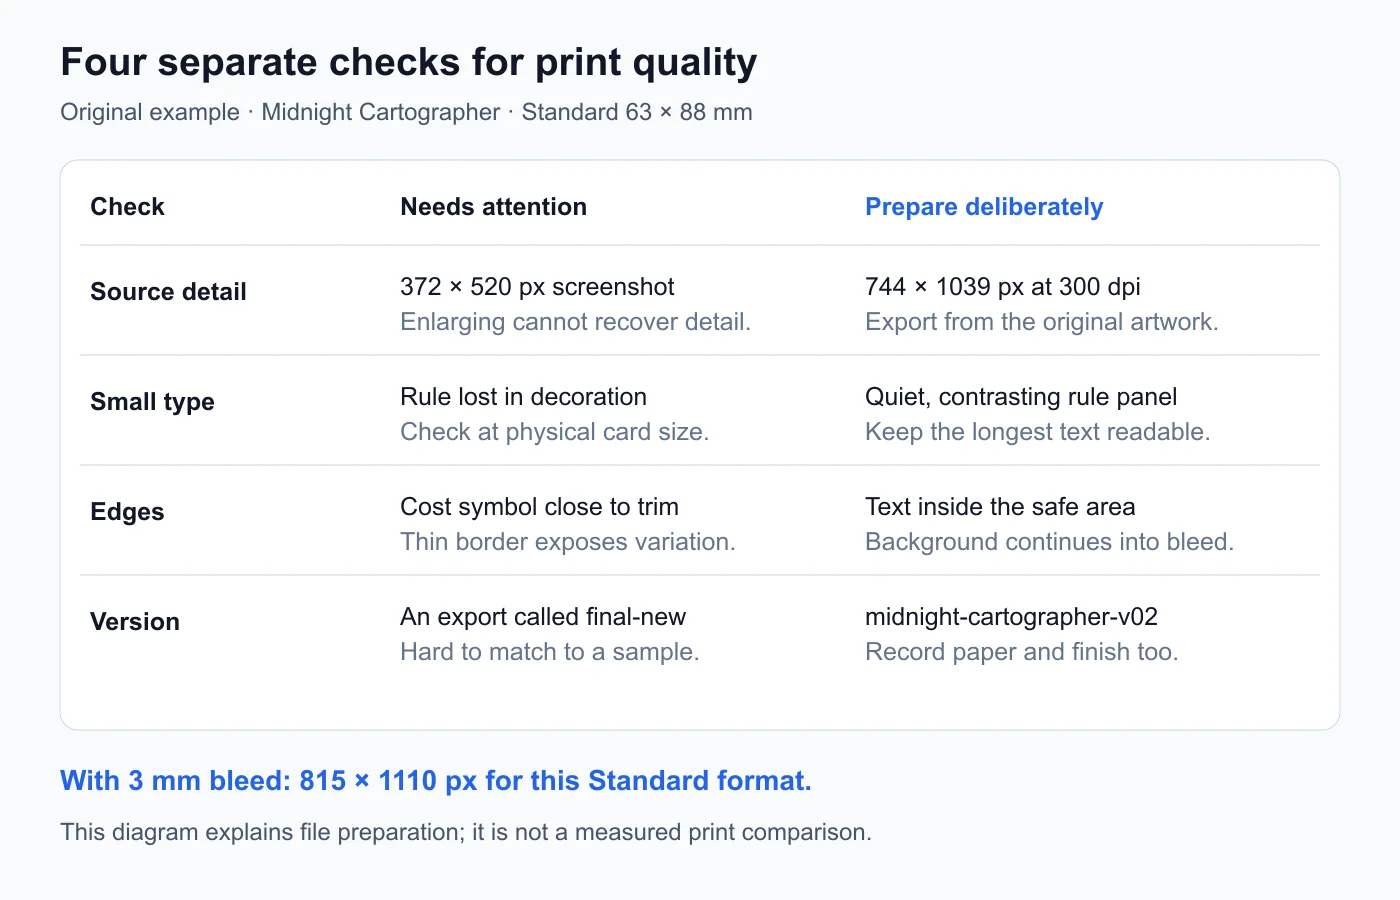
For Standard 63 × 88 mm cards, the current guide recommends 744 × 1039 pixels at 300 dpi, or 815 × 1110 pixels when the file includes 3 mm bleed. Use the dimensions for your actual format rather than a generic trading-card preset.
Suppose the owl illustration is available only as a 372 × 520 pixel screenshot. Enlarging it to the recommended dimensions makes a bigger file, but does not restore the missing feather and map detail. Return to the original drawing or a higher-resolution export where possible. Inspect the artwork itself rather than relying on a file's DPI label.
Make the smallest text do its job
View the card at its intended physical size. Read the name, cost, type and effect without zooming in. A rule that is comfortable on a large monitor may be difficult to read when the card is held across a table.
On Midnight Cartographer, separate the effect from the decorative map. Use a quiet text panel with enough contrast, and leave room for the longest likely rule in the set. If the text is crowded, simplify the wording or enlarge its area before shrinking the type. Keep recurring information in consistent positions across related cards.
Give the cut line room
The print-ready files guide explains bleed, trim and the safe area. Background artwork continues beyond the intended cut; important text stays safely inside it. Thin frames close to the edge make small cutting variation easier to notice.
For the owl card, let the dark background reach the outer artwork edge, but move the cost symbol and rule away from the trim. Start with the matching card template when laying out the file. Hide its guide markings before exporting and inspect the actual exported image, not only the design document.
Review colour and fine detail
Work in RGB as recommended by the file guide. The designer handles embedded colour profiles and reports colour warnings where applicable. Review those warnings rather than assuming every export will look identical to the working file.
Choose a few features to compare: the blue map lines, white owl face and dark background. If several dark areas merge in the artwork, improve their contrast before printing. This is a design check, not a promise that a screen can reproduce the appearance of ink and card stock under every light.
Choose material with the artwork in mind
The quality page shows real White Core and Black Core samples as well as foil options. Compare the printed details and surfaces while thinking about how the cards will be used. Reflective effects are a separate material choice from highlights painted into an illustration.
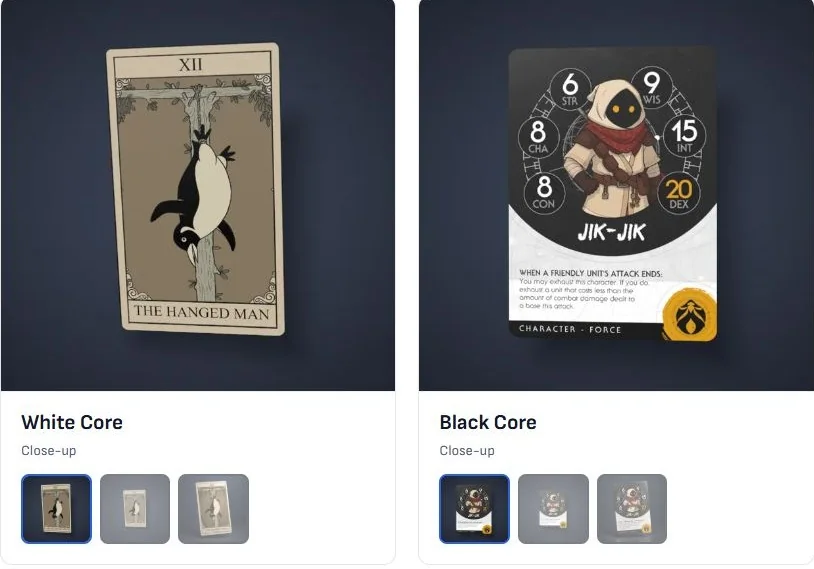
Keep the configuration consistent when comparing a revised file. If you change both the artwork and material at once, it becomes harder to identify which decision affected the result. Save a note of the stock and finish beside the approved export.
Approve a specific version
Before ordering, inspect both sides, the crop, bleed and copy count in the designer. Open the exported front and back files once more to check for visible guides, incorrect spelling or an outdated rule. Use an identifiable name such as midnight-cartographer-v02.
Order a representative physical sample when you need to judge fine detail or a new finish. Compare it with the exact version you submitted and record any change precisely. A useful note says which feature needs adjusting, so the next export improves a defined problem.