Blog
Print and Sell Your Own Custom Cards
Build a card product from your own artwork or game: define the set, test the print, plan the full cost and start selling at a manageable scale.
TCGPrintery5 min read
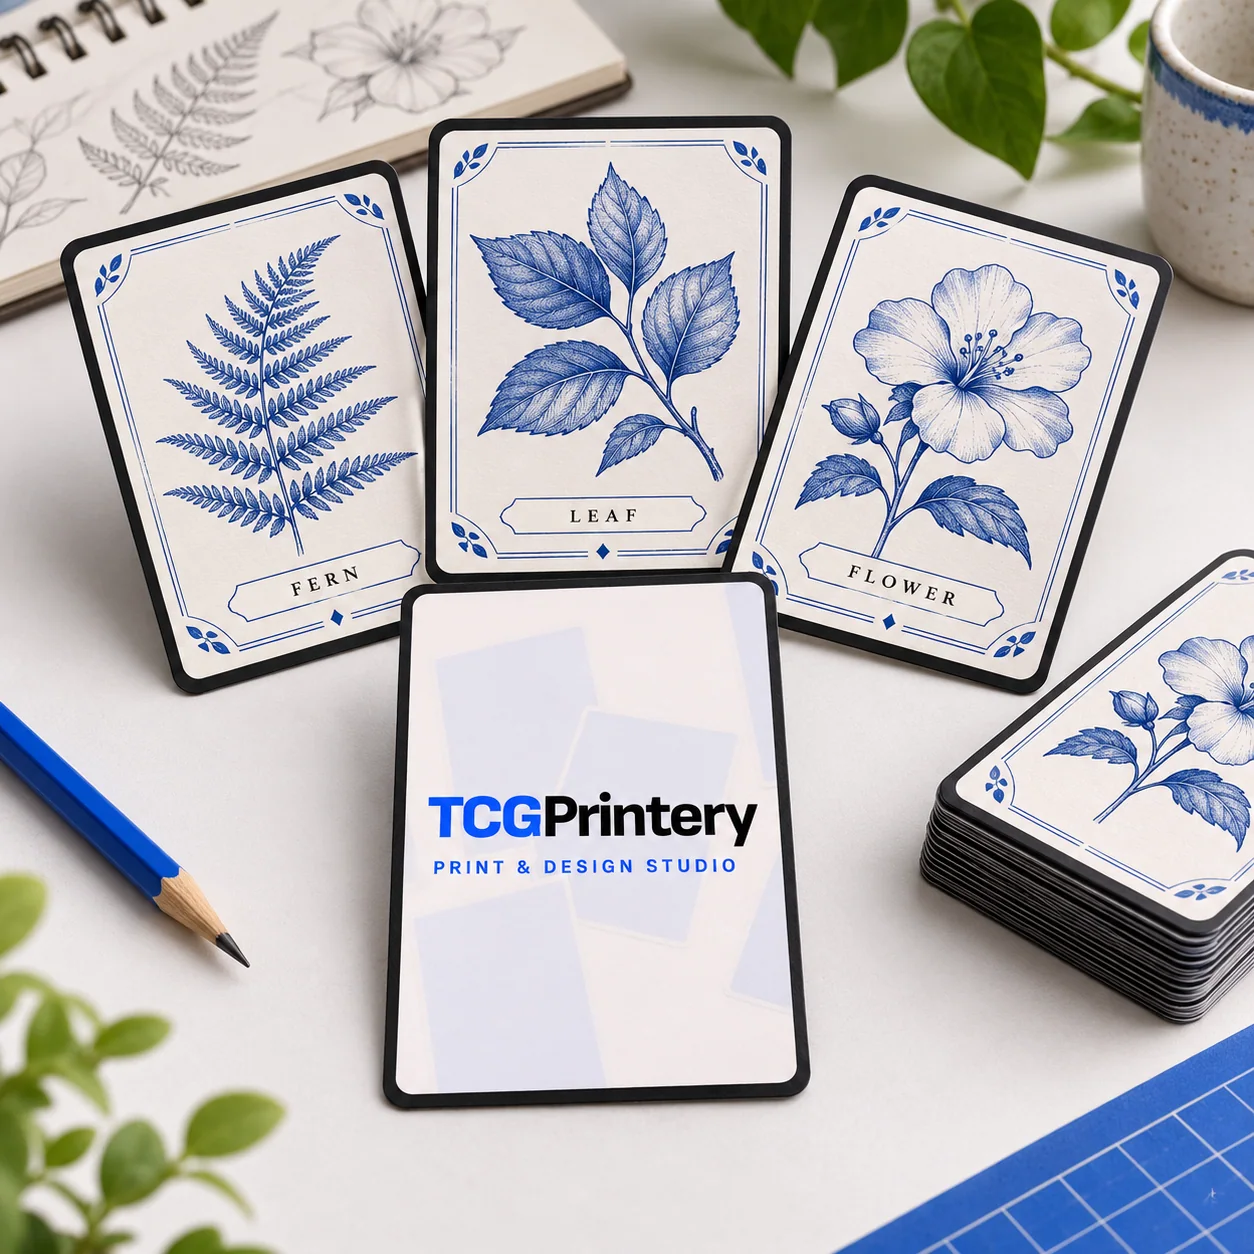
A set of your own characters, a small card game or a collection of illustrations can become a physical product. To print and sell your own custom cards, start by defining what someone will receive, make a sample you can inspect, and work out the cost of delivering that product.
TCGPrintery lets you prepare cards in its online designer and discuss a printing partnership as your project develops. Here is a practical route from a creative idea to a first sale.
Start with one clear product
Choose a complete, manageable first release. It could be an illustrated collection, a playable starter set for your own game, or a compact expansion for a game you created. Write one sentence explaining who it is for and what makes it worth keeping or playing.
Then define the contents. A hypothetical art set might contain 24 illustrated cards and one introduction card: 25 physical cards altogether. A game needs a different count based on how it plays. Repeated action cards, rules and reference cards all belong in that total.
Decide how the set will be presented, too. A sleeve, band or box affects both the experience and the cost. Confirm packaging arrangements separately when discussing production.
Make the cards feel like one collection
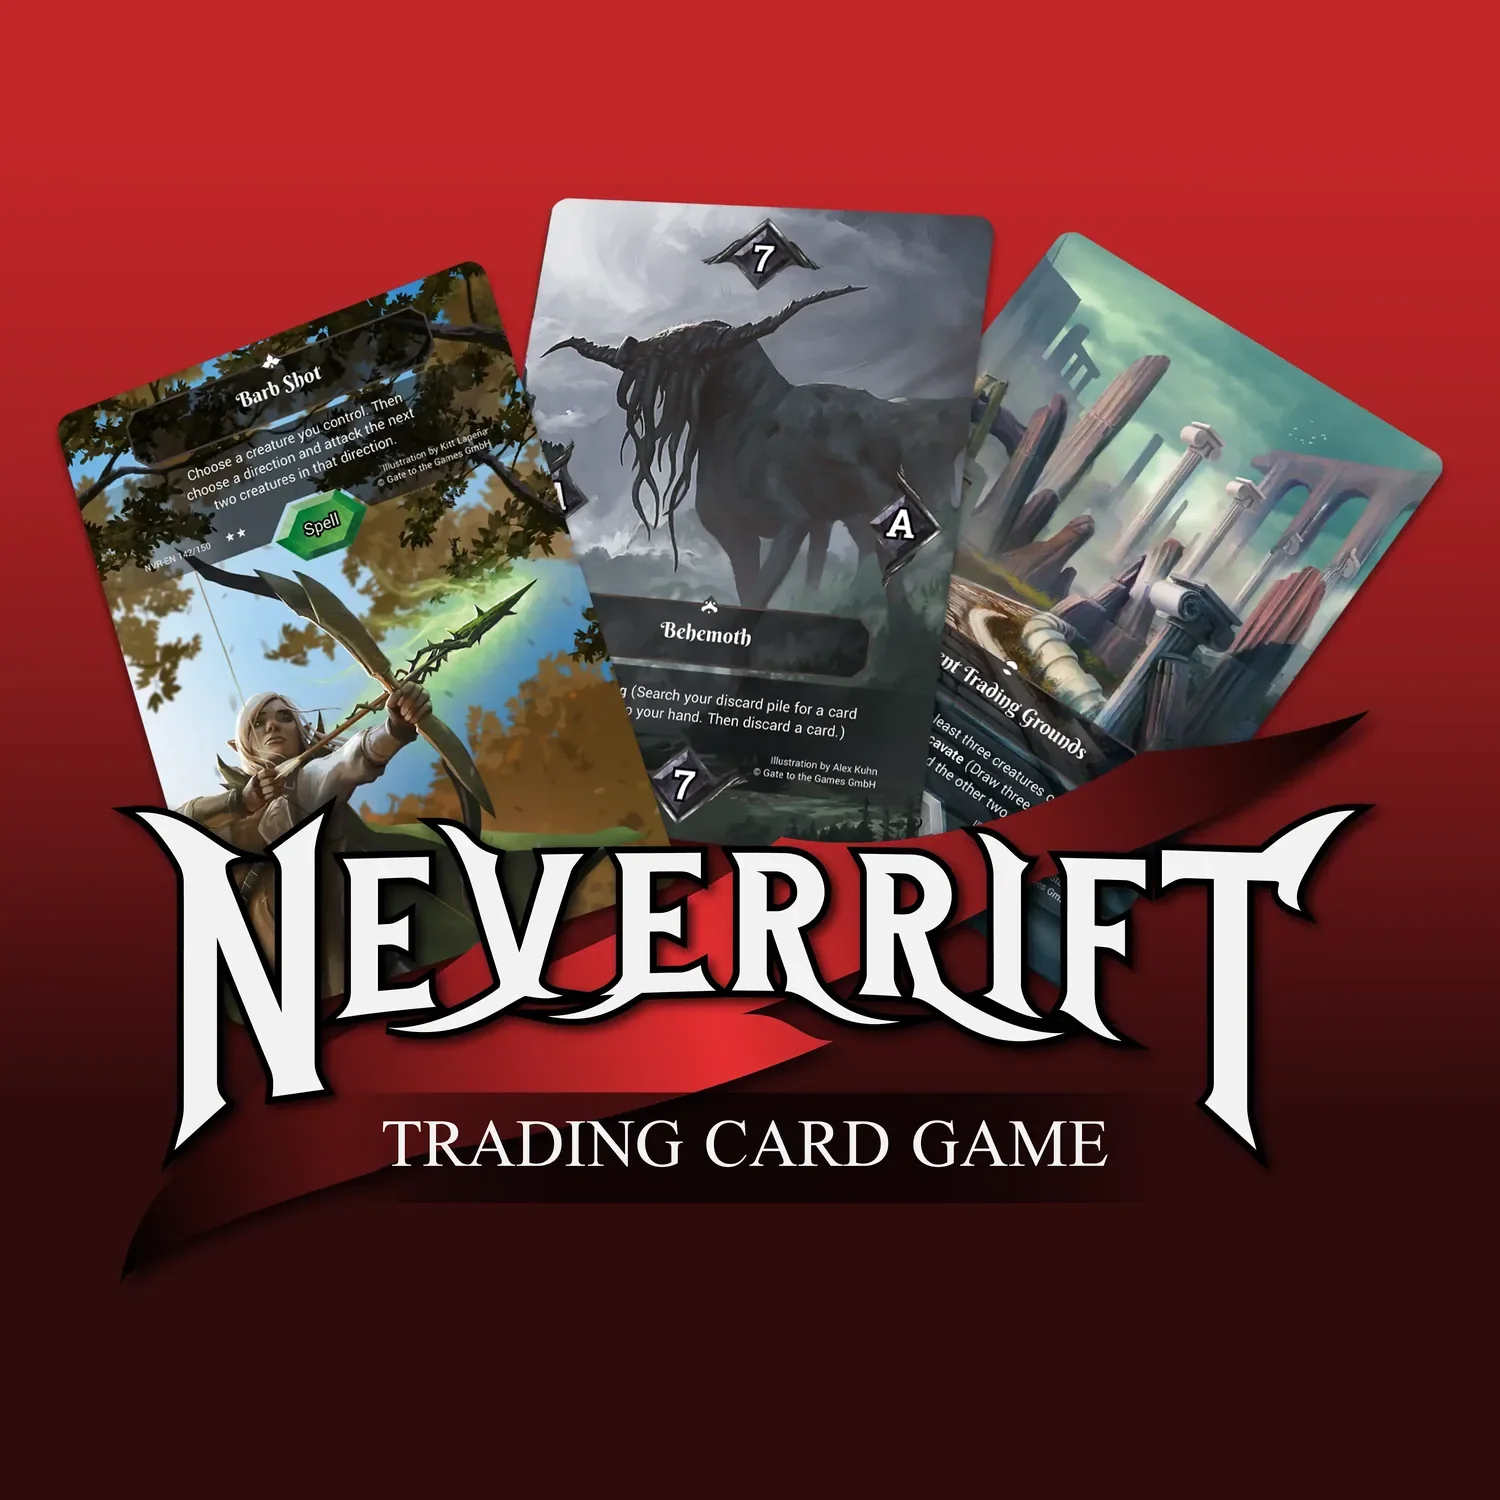
Use a consistent frame, type hierarchy and approach to colour across the set. The illustrations can vary while names, numbers and other information stay in predictable places. For a game, test whether players can find the action or value quickly during play.
Keep a master list with a design name, filename, quantity and assigned back for each card. For example, collection-01-fern.png is easier to identify during review than a folder full of files called final-new.png. Add a version number when revising the set so an older export does not slip into the next order.
A common back can tie the collection together. The Standard designer supports a shared back or individual backs. Check that choice deliberately, particularly when game information should remain hidden until a card is turned over.
Choose a format and compare materials
The current card formats are Standard at 63 × 88 mm, Japanese at 59 × 86 mm, and Tarot at 70 × 120 mm. Choose for the amount of information, handling and presentation your product needs, then build the layout for that finished size.
Explore White Core, Black Core and foil options with your artwork in mind. A finish should support the illustration and keep essential text readable. Compare physical samples before committing the whole collection to a particular material.
Use the print-ready files guide when exporting. Keep important content inside the safe area and review how the artwork reaches the edges. Check the complete set together, rather than approving each attractive image in isolation.
Test the physical product before selling it
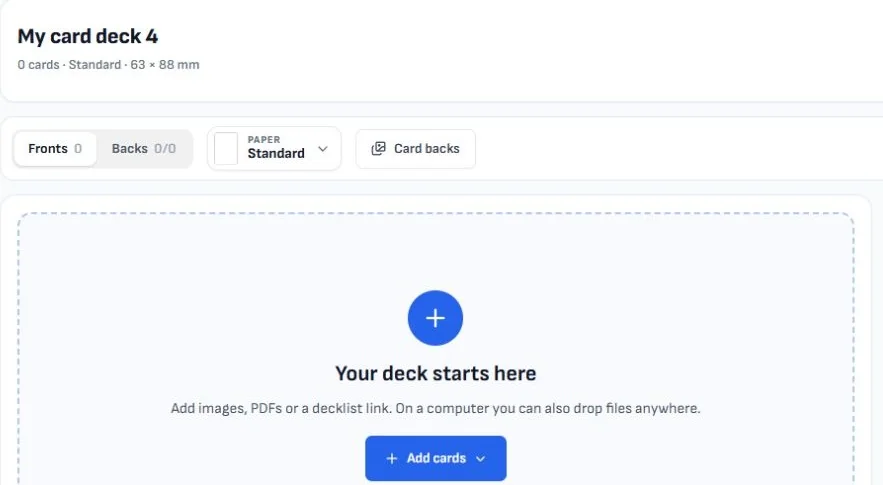
Upload a small, representative test project first. Include a detailed illustration, a text-heavy card and any design with a dark background or delicate border. Review the faces, backs, quantities and edges in the designer, then order a physical sample or discuss samples as part of your production plan.
Handle the sample as a buyer would. Read it under ordinary light, compare the cards side by side and check the front/back orientation. For a game, run a short playtest with the actual printed cards. For an art collection, check that the colours, spacing and sequence feel coherent.
Record any changes before placing the next order. Photograph the approved sample for your product presentation so customers can see the real cards and understand the contents.
Count the full cost of one sale
The printed cards are one part of the cost. Before choosing a selling price, make a simple worksheet for a complete sellable set. Include:
- Production: the correct card count, quantities, stock and finish.
- Packaging: any band, box, protective sleeve, label and mailer.
- Delivery: the shipping arrangement for the route your product will take.
- Selling costs: payment processing, shop or marketplace fees, and relevant event costs.
- Your work: preparation and handling time, plus an allowance for replacements and other problems.
Keep one-time costs, such as initial artwork and sample rounds, visible alongside the cost of each order. Use current prices or a project quote and the actual fees for your sales channel. A lower print cost on a larger order can still leave more money tied up in unsold stock.
Launch small and learn from buyers
Choose one sales route you can manage well: your own shop, a local fair or an event where the audience already enjoys your work. Show the card count, size, material and included packaging clearly. A short video of someone handling the set can make the product easier to understand.
Start with a manageable quantity and track what people ask about, which designs attract interest and whether the product is straightforward to pack. Use that feedback to improve the next release. Add more collections or finishes once you know what you can produce and deliver consistently.
Plan a printing partnership around your store
For ongoing sales, TCGPrintery's print-on-demand process begins with discussing your store and products. Production, shipping and the way orders reach the printer are agreed for your setup, including which steps can be automated.
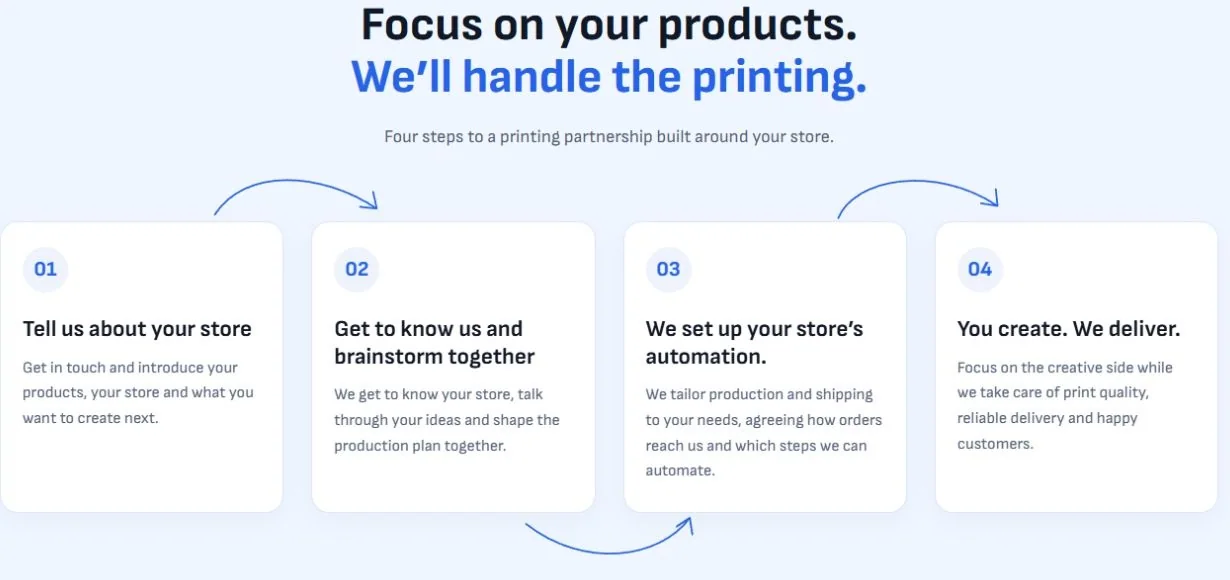
Bring your card list, sample artwork, preferred format, packaging needs, sales channel and expected order pattern to that conversation. Confirm responsibilities and costs before promising a particular fulfilment process to buyers.
Prepare your first card project, review a sample and refine one complete product. When you are ready to plan ongoing production, tell us about your store and the collection you want to bring to print.